
The “Napa” Office 365 Development Tools make it easy to start building apps for Office and SharePoint without leaving your browser or installing software.
When we jump to Office 365 and try to install Napa, you might get error saying :
"We need your help to make this app work:
Turn on Developer Feature"


Now you can find Napa tool in your site content.


When we jump to Office 365 and try to install Napa, you might get error saying :
"We need your help to make this app work:
Turn on Developer Feature"
This means we need to have a developer site created to use Napa tools.
Now go to SharePoint work space in Office 365.

Once you are on SharePoint Admin Center, try creating a Site collection. Please note that you cannot create a new Public site collection until you subscribe(not available in trail version).

Please make sure that you selected "Developer Site" to enable developer tools and build and publish apps for Office 365. Please be very careful while giving the Storage Quota for this site collection. Now you are dealing with the space in cloud. Don't worry even if its small and you have extensiblity option as its one of the use of going cloud.

Don't just rush to Developer site, unlike Central Admin, it will take a while to create the site collection in Office 365, refer to green in-progress icon in admin center.
Now we have our developer site created. Go to site settings and click on "Add an App" option.
Installation of Napa Development tool may prompt you for trust, we need to Trust the tool to have a proper control over the site collection where it getting installed.
Now you can find Napa tool in your site content.
Launch the "Napa Tool" and you can see that it is a web application with url "https://www.napacloudapp.com/" and which consumes all the details of your Office 365 login, which site collection you are connected from Napa. The default screen will display all the Apps you have created.
If you are using for first time, there will be a "Add New Project" button.
you can see what are all kinds of apps you can create from Napa developer tool.
1. Apps for SharePoint : You should be pretty clear about the term "Apps" in SharePoint 2013. When you create/Imported/Added a SharePoint-Hosted App, it will create a separate sub-web under your SP Web application. This App will be executed in a separate App Domain different from Farm App Domain.
For More Info refer Apps in SharePoint
2. Content App for Excel : More Info
3. Task Pane app for Office : More Info
4. Mail App for Office : More Info
One common thing one should know is all the Apps are Css and Javascript based, entirely client side execution dependent. Although they often interact with server , everything will be done through ECMA client scripts.
Before we jump into writing any code for App, lets understand the IDE first.
First SharePoint App in Napa Tool
Lets look at the files in a SharePoint App first. From the below image, you might have figured out by now that all we use are Markup files (.aspx, .html etc...), Css files and JavaScript files.
Just to make simple changes and check the significance of each file i made below changes in each file.
#1. Added BlogHeader.jpg file by Manual drag-and-drop to images folder..
#2. Default.aspx:
#3. App.JS:
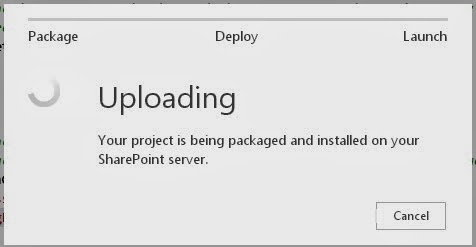
Now to execute and see the result, run the project and wait.
The "Run" process will upload the files from your project to your SharePoint site and this is how our App looks like.
Accessing the Lists and other resources from Sharepoint App
There is a list named "TestCustomList" in the hosting SharePoint site.
Now i want to display information about this list in my App. So i wrote below piece of functionality
App.CSS:
Default.aspx:
App.Js:
So as per above code, there should be a message saying
But, in the first shot most of us get the exception saying
"Failed to get user name. Error:Access denied. You do not have permission to perform this action or access this resource."
This clearly says that the App is not having enough permissions to access the hosting site.
Reason : We should be well aware of the fact that we are dealing with SharePoint Hosted App.
This means the App is not part of Hosting site (Developer site in our case). So, we need to specifically set the permissions for the App.
For that you should go to Properties and as per my requirement, i need app to have read access at web level. This is the place where you can grant the app any kind of access. But always make sure that the App has lowest possible permission set to perform the given task.
Now finally our App looks like . . .
We will see more posts about Office 365 and SharePoint 2013 Apps.
Happy Coding!
Hello
ReplyDeleteI Read your article. Thanks for sharing such beautiful information, and I hope you will share some more info about Website Development. You wrote really very well, I really like your blog and information provided by you. I appreciate your work.
Thanks